Welcome to Studio B, where I hope you will return often for the latest updates.....Thanks for stopping by!

Tuesday, January 31, 2012

Valentine Treat Containers

 I was asked to make some containers or our February club meeting that would hold small amounts of candy. These containers were the first that came to mind, they dont take alot of supplies and they are super easy to make. They resemble the fast food sour cream containers. Below is a bowl with 40 of them! Actually it took me very little time to make them on Friday night. Hope you enjoy..........


Thanks for Peekin in!


Monday, January 30, 2012

Monkey Challenge #93


Its been awhile since Ive submitted a challenge card, and I think think this is the first time I have ever submitted a card for A La Card Monkey. They can be found here, come on over and join in the fun! Hope you enjoy!


 Here is my rendition.............


Thanks for Peekin in!


Friday, January 27, 2012

Bookmarks

For Christmas I decided to gift bookmarks to the Executive Board of the spouses group that I am a member of. It was a last minute decision so if I would have planned earlier I could have made them a little more girlie. But all in all I was still pleased with the way they turned out. Hope you enjoy............


Thanks for peeking in today!


Thursday, January 26, 2012

Gift Card Holders

Have you noticed how the gift cards now are much bigger than the credit card style? They are very large and that makes them hard to cover or gift. You shouldn't need to use a gift bag for a credit card! But I do like things to be attractive and festive, so here a a few gift card holders that I designed for this past Christmas. Hope you enjoy.......


Thanks for peeking in today :)


Wednesday, January 25, 2012

Another Birthday :)

This card was for my dear friend Lori, that loves black and white. I couldn't send anything else :)  Hope you enjoy........


Thanks for peekin in today,


Tuesday, January 24, 2012

Quilted Post Card for a Birthday

Well this is a first for me as I begin to work with fabric more and more. I wanted to send my good friend something a little different for her birthday this year. She is very creative and makes so many fabulous items. That I wanted to be a little more creative for her birthday. So glad I did, happy with the way it turned out and  it was super fun to make. The back is the actual post card portion and it was mailed in a cleat envelope to protect the quilted front.  Hope you enjoy......


Thanks for peeking in,


Monday, January 23, 2012

January Birthday Cards for Friends

I really love making cards for friends and in January I have 4 friends with Birthdays during the month. I love it! It gives me that little push after the holidays to get crafting right away. Hope you enjoy!


Thanks for peeking in today,


Thursday, January 19, 2012

Sewing Project # 3

I got a new toy in November and started looking on line for different tutorials and came across one for a dust cover for my Cricut Machine. So I thought I would give it a try. I was so happy with the way it turned out that I thought I would make a second one for my friend who recently purchased her first Cricut. Hope you enjoy!


Thanks for peeking in!


Wednesday, January 18, 2012

I couldnt help myself, lol

Okay, I had to do it! I love Damask! And what better way to express it than to make everything I can with Damask fabric, hahaha! All joking aside, my studio needed a Damask pumpkin dont you think? As much as I love fall and the colors it just wouldn't be matchy-matchy with the rest of the decor in my studio. And if you know me at all, you know it has to coordinate! Hope you enjoy...........


Thanks for peeking in,


Tuesday, January 17, 2012

My 1st quilting project

I have been wanting to learn to quilt for some time now, but I have to admit I am not too keen on sewing machines! They scare me, or used to I should say. I took the plunge in August and purchased my second sewing machine. The first one I owned for over thirteen yrs came out to play maybe three times, so I got rid of her.

I have to thank the Best neighbor in the world for teaching me how to quilt. I am by no means an expert, but I think I've got the basics down, and I have some machine confidence now. She was so patient with me, and taught me some valuable sewing lessons to keep me from making huge mistakes in the future.

My first quilted project is the runner below, I wanted to start with something small, runners are perfect for the beginner! I wanted a project that wasn't going to be overwhelming, and easy to actually finish. Because lets face it folks, if you take on a big job it will linger. Hope you enjoy!


Thanks for peeking in,


Monday, January 16, 2012

Curly Paper Wreath

Don't you just love curled paper and ribbon? I made this wreath this past summer and displayed it at Christmas. Its super easy to make and it held up so well that it will make an appearance again next Christmas. Hope you enjoy!


Supplies: Styrofoam wreath form, stick pins, 4 sheets of double sided dsp

Thanks for stopping in!


Friday, January 13, 2012

"Ribbon Boss"


Had to share, this past spring my good friend was visiting from the UK. We had a ribbon share to separate and my wonderfully playful cat just couldn't resist. He even went so far as to grab what he thought belonged to him and drag it down the stairs, haha. Have a great weekend!


Thanks for peekin in!


Thursday, January 12, 2012

A little drawer makeover.....


Ok so here is a super easy tutorial. I'm sure its not original. But you know sometimes you want something and you just have to come up it with yourself. I purchased a cabinet (future post) and really wanted to line the drawers after repainting and replacing the hardware. Only problem; I couldn't find contact paper that I loved. I had damask in mind and its just not available. Trust me I looked. Quick instructions are below the pictures in the order that they appear......


Pic 1 Step 1: You will need to select a drawer that you want to line, for this particular project I had 6
Pic 2 Step 2: Sponge applicator and ModgePodge, I like to be able to throw the brushes out :)
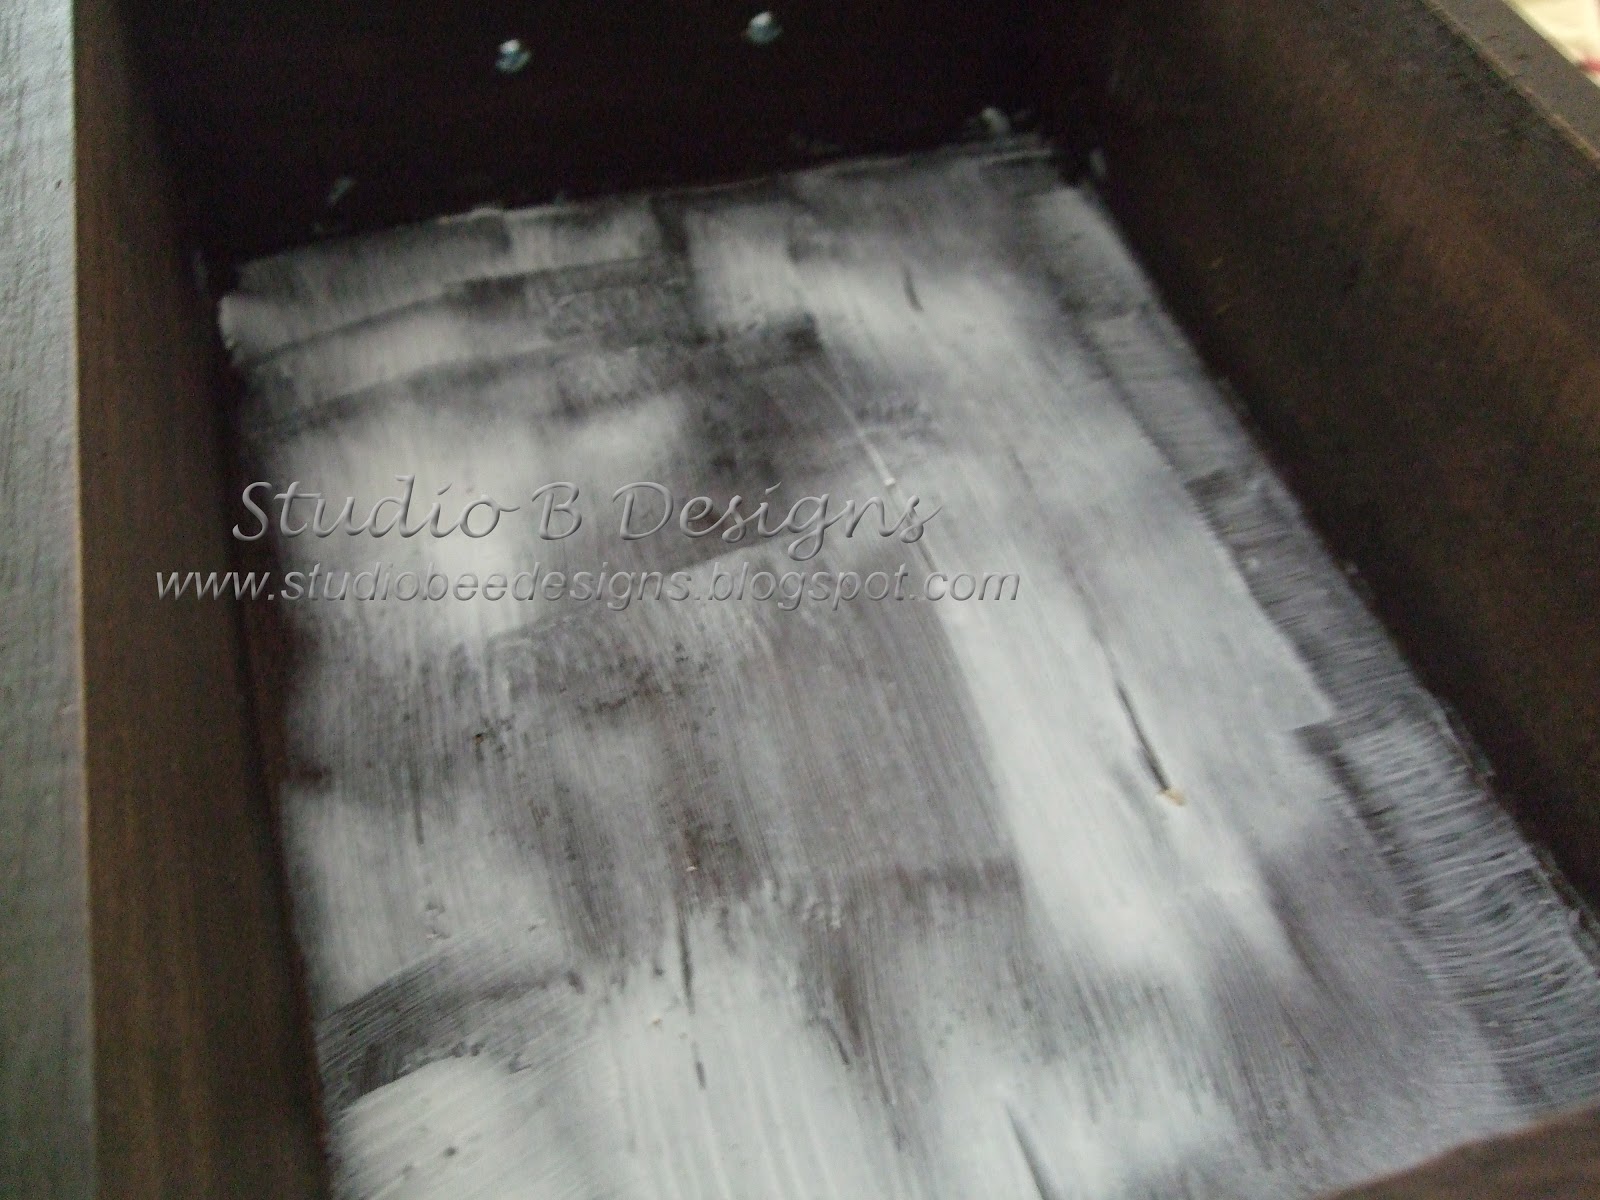
Pic 3 Step 3: Apply a generous amount of Modgepodge to the inside of your drawer, make sure to cover the corners well so that your fabric doesn't lift up in the corners later.
Pic 4 Step 4: Measure and gently lay fabric in place and smooth out any wrinkles, the modgepodge will be wet so you will have time to get it just right
Pic 5 Step 5: Re-apply another layer of modgepodge over your fabric. This step is optional.

And there you have it! Pretty drawers on the cheap. I used maybe 1 yard of fabric, which is a heck of a lot less than I would have spent on contact paper and I can have any color I want. And the best part is it was very easy to do without the frustrating sticky contact paper adhering to itself.

Another suggestion is to use velcro dots, and just velcro your fabric liners in place, this makes it easy to remove and wash. Hope you enjoyed today's post :)

Thanks for peekin in,


Wednesday, January 11, 2012

Upcycle? Recycle? Not sure.....

Whenever I can keep something and use it another way or change it to make it my own I try to. I was given this cute rustic star, but it doesn't match anything in my house. So it hung outside for a while. Then I decided that I would like to bring it in, but what about the color? So anytime you don't like the color of something what do ya do? You change it!


Aahhhh, that looks so much better to me :)

Thanks for looking in today!


LinkWithin

Related Posts Plugin for WordPress, Blogger...